Sure, there are as many iPhones as there are stars in the (Samsung) Galaxy. Sure, people are more forgiving about production value right now. And yes, your clients can send you a mountain of footage over the wonderful, wacky web. But should they? Are you going to feel good about what you produce once COVID is in our rearview mirror?
At this point, we’ve all found some workarounds for our normal processes, right? In our experience:
- People are less interested in getting on a plane during a pandemic
- Clients are tightening budgets and asking what we can do with self-recorded videos
- Clients are shifting to virtual events and need more content than ever
- Fully-staffed shoots are not feasible for many clients
I know we’ve all spent years trying to tell clients why there’s so much more to this thing than pointing a high-quality camera (which they carry in their pockets) at your subject. And it’s true, there is. We aren’t hedging on that one. But it STILL behooves you and your business to figure this thing out and embrace the self-recording. Do it well and you’ll be able to offer your clients more flexibility while still producing something you want to put your name on.
A Step By Step For Procuring USABLE Client-Recorded Video
Producing from a distance has become more common. But if you do it without proper planning, it will be frustrating for everyone and you won’t get the results you want. So here’s what you need to do it right.
1. Create a self-recording kit
You’ve got meal kits, craft kids, Christmas decoration kits. Why not a camera kit?
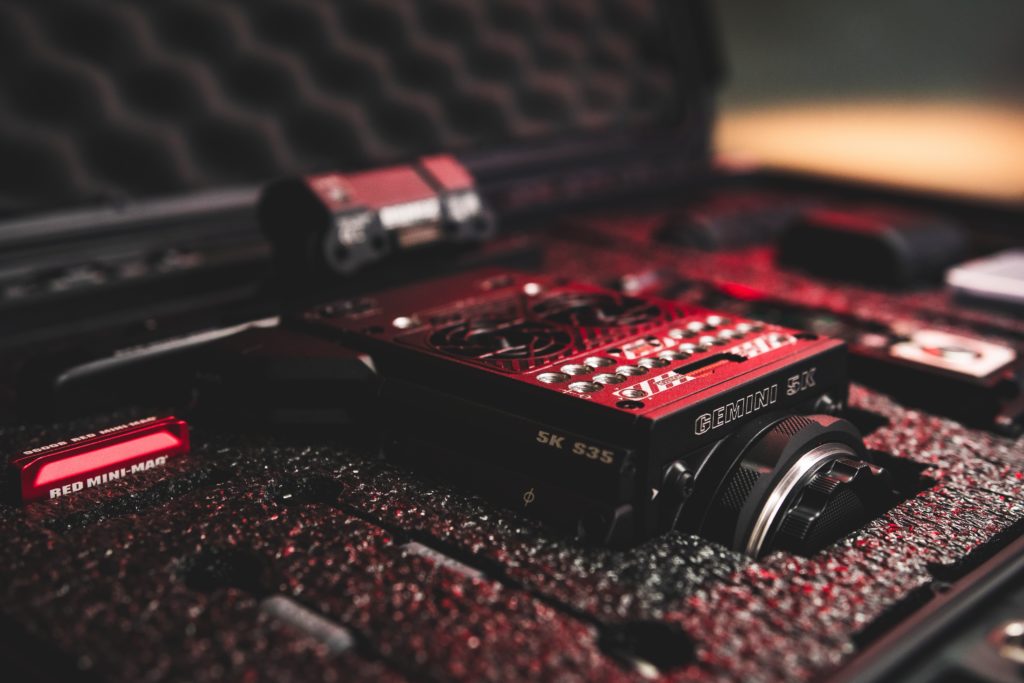
Create a package including an HDSLR camera (equipped with a microphone), a lav mic for the interviewee, and detailed instructions on setup. You’ll be sending this to each interviewee so assume you’re talking to a 5-year-old. Nope, scratch that, most 5-year-olds are more at ease with tech than their parents. Write each step as if you’re talking to a 90-year-old. Include everything from how to pick a good background to camera/chair height, lighting, etc. Nest products provide a good example of taking something complicated and breaking it into bite-size instructions. Include a prepaid UPS or FedEx envelope for the return.
Who doesn’t love a good kit, amiright?
2. Configure the camera in advance
Do as much as you can from your own studio to make it as easy as possible for your interviewee. Once they’ve received it, do a video chat with the interviewee to work out the bugs and set up the shot.
3. Film/review a short test shot
Have the interviewee send you a short video and set up another call to refine the shot as needed.
4. Include instructions and supplies to mail the kit back to you
What about cost?
Bottom Line
Are you convinced you should give it a try? Well let me tell you this if not: Even shows like Frontline are using this technique in place of previous practices.
What solutions have you come up with?
Need a crew that can help you accomplish your goals in the COVID world? We’ve got ’em. Promise.


